Photo credit: Canva.com
If you missed Part I: The Basics or Part II: The Extras - click the links to get caught up!
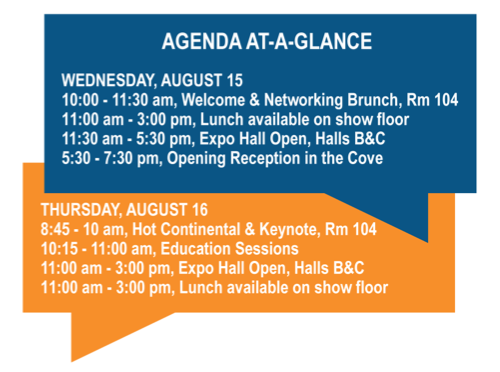
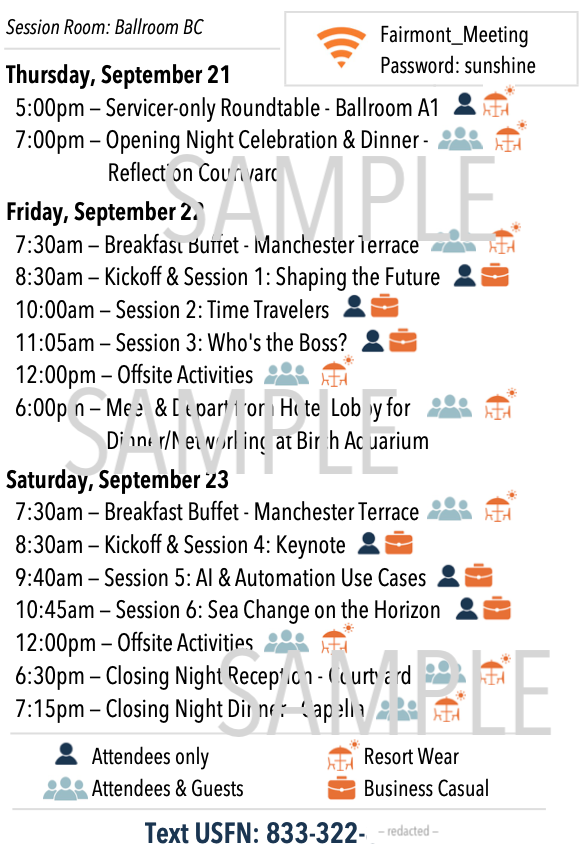
My absolute favorite thing to print on the back of a name badge is the schedule. If you read no further than this, I can handle it. Because by simply adding a schedule to the back of the badge, you are giving your attendees the bare minimum of everything they need to know. And they will adore you for that! List the day, start time, function and location. If there are concurrent sessions, just put ONE line for them, then direct people to view the mobile app or wherever your full schedule is provided, for more details. This simple addition to the backside of a name badge makes it quick and easy for attendees to know when and where to go and it’s a simple task for a BIG win. I guarantee if you have never done this before, putting this on the backside will get your registration desk some well deserved kudos!
Now, if you’re using 3x4 badges still, you might not fit a schedule on the backside of the badge - depends how many different timed functions are happening. Or, it might not make sense because everything is back to back in the same room. Don’t walk away though - here are some very simple schedules from the backside of smaller name badges...
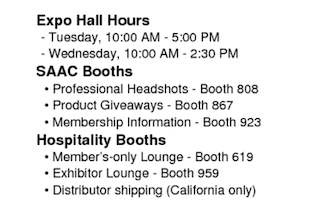
In addition to schedules, and especially if you’re using larger 3x5 or 3x6 badges, there’s plenty more to consider for all that white space on the badge. Here are some other ideas...
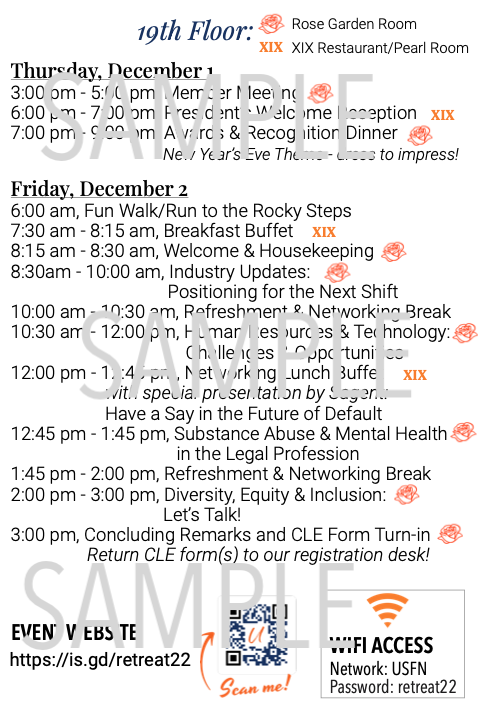
Items that are helpful for the duration of the event:
Emergency information: *This could be pre-printed lines to fill out for emergency contact name, number, relationship. This could be an opening session activity - to have everyone pull out their badge, write some things, and then tuck the badge away again. Remember privacy with this one. If your lanyards and badges are such that the badge will tend to spin and flip easily while worn, I would NOT advise this information to be on the backside. You should have this information in your registration system already anyhow, but the convenience in an emergency is incredibly helpful. Just remember privacy!
Event contact number: Our team uses TextMagic as a “support” number attendees can text. We provide the number in various communications, on materials, and printed on the backside of our name badges. Attendees, speakers, guests - anyone with a badge or our event materials can then send a text to that number. We have multiple team members signed into it so whoever can answer the incoming request or question can quickly do so.
QR code and URL to the full schedule online: If you have a lot of concurrent sessions or want to provide a quick way for attendees to get more details about functions or speakers, having a small QR code and URL to the full online schedule will help those that need a bit more than the schedule you printed on the backside - or if you did print the schedule, the QR code simply gives access to the full details, which shouldn’t be on the badge anyhow!
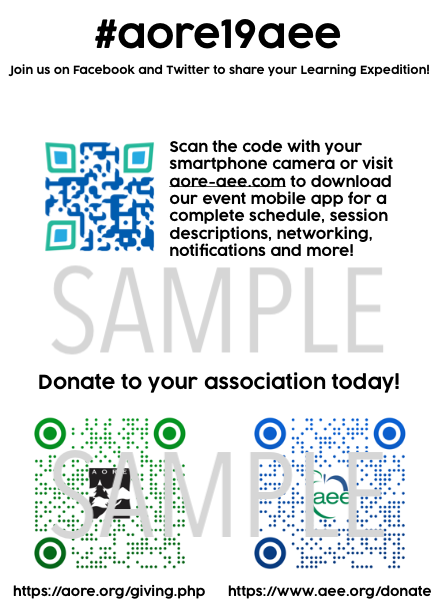
Items that likely will only be used/scanned once...
These things could be done in addition to the above suggestions, in smaller fonts or graphics. They could also be posted on signs throughout the event, instead of on the badge at all.
- Wifi access instructions
- Social media tags/handles/links
- QR code and URL to the event mobile app
ALL of the above items don’t require any special merge or print settings to match up the badge and the data. These are simple, identical pieces of information for all attendees, so printing is easy. I tend to print all my backside data first - all the badges. Then I flip the paper over and go to town printing the merged badges. Of course, there are multiple other ways to do this - the reverse, two-sided, and even with merged data.
Here’s what I would NOT advise putting on the back of a name badge...
- Anything that is secure, private information that should not be seen by anyone else should an attendee leave a badge behind somewhere. Because you know someone will...
- Too much text
- Too much information (pick 2-3 key items from the above lists, no more!)
- Merged data that is likely to change (personal schedules, one-on-one meetings, etc)
Finally, remember that people tend to NOT read. So major props to you for getting this far... but MOST people (not you of course) don’t read things thoroughly or at all. So don’t assume they know anything is on the backside (show them / tell them at registration though!), and then, remember that we all like pictures, not just text. Add the wifi symbol by the wifi information. Add symbols next to the function items to identify them as networking versus meals vs education.
BEGINNER’S TIP: If printing on the backside of a badge makes you break out in hives because it’s just not your thing, then consider the badge paper you’re using... if there are two badges side by side, the left side could be the “back” and the right side the “front” - after printing, fold it in half and there you go. Or then take it up a notch and use the inside for something like emergency information! It will be well concealed there. Unless of course someone leaves their badge behind somewhere... there’s always someone! Just remember when ordering, you’ll use TWICE as many badges to do it this way.
Enjoy all the new design space on your badge! Share with us anything else you’ve found particularly helpful on the back of your event badges - we look forward to seeing your ideas!


